
How to simulate location while debugging iOS application?
Photo From exyte
Originally Posted On: https://exyte.com/blog/how-to-simulate-location-while-debugging-ios-application
Whether location tracking is an essential part of your app or just a feature, testing it is necessary to ensure that the whole application runs smoothly.
Any developer who has ever tried to release their iPhone app knows how strictly Apple regulates the quality of all products in the App Store. Fortunately, the company recognizes the need to support engineers in their endeavors, so it has launched a dedicated IDE called Xcode. In fact, it has been around since 2003, gradually evolving alongside other products from Apple. Nowadays, it provides an ultimate solution for developing iOS and macOS applications. This IDE is especially useful in testing apps that track users’ location to function properly, which makes it irreplaceable when it comes to debugging such programs.
It’s worth noting that you are not limited to using Xcode to simulate location for debugging your iOS applications. However, Xcode is the best development environment available today, as it supports all operating systems from Apple, be it iOS or watchOS, and provides a handful of tools for successful debugging. The only significant drawback of Xcode is that it is available only for macOS. If you are using Windows or Linux, you would need to work in another code editor.
Why Use Location Simulation for Debugging?
Whether location tracking is an essential part of your app or just an additional feature, testing it is necessary to ensure that the whole application runs smoothly. If you are already aware of certain behavioral patterns of your users, such as their regular routes to work/home, consider utilizing this data for more targeted testing. This allows reducing the number of bugs and improving overall user experience.
When it comes to location testing and debugging location-based applications, Apple’s in-built Simulator is an irreplaceable tool. It’s quite obvious that you can test an app manually, through taking rides and walks around an area. Although this method has its advantages, the range of your travel is rather limited, and the amount of time you would need to waste on such an approach is immense. In addition, potential users of your application are not necessarily concentrated around your physical location, so it would be useful to know how the product performs in different cities/countries.
Prerequisites for Successful Debugging With Apple’s Simulator
So, let’s assume that you have a Mac computer with the latest edition of Xcode installed. Mind that having a completed iOS project is not required to launch Simulator, as the software allows you to generate a Home screen of any Apple device, be it an iPhone, iPad, or Apple Watch. The default app that is run by the system if you don’t link your own project is called (surprise) “Hello, World!”
Why would you need to launch the home screen of an iOS device? Well, it is quite useful for testing web applications, as you can simulate a mobile version of Safari within Xcode. It is completely identical to the version of the browser available for iPhone, which allows you to evaluate the performance of your web app and see which areas require improvements. In addition, mind that the iPhone home screen is not the only one that you can generate within Xcode, as the software also allows users to simulate iPad OS, watchOS, and tvOS environments.
Creating a Virtual Location
There are two ways you can start simulating a location – one in the simulator and one in XCode itself. Either provides a different set of static location presets, and the ability to input a custom location.
On the simulator, you would go to the Features menu and select the Location option. There should be multiple presets for static and dynamic locations, along with the None option and Custom Location.
 Features menu — Location option
The preset variants determined by Apple are leading to different places around Cupertino, while the Custom Location button allows you to determine a latitude and longitude yourself. Where can you find those? Just visit Google Maps and find any place of your choice. Commonly, its coordinates are pointed out at the bottom of the screen, right below the address. To test the performance of your iPhone application with these coordinates, simply copy them and paste both into the dedicated fields.
 Custom Location button allows you to determine a latitude and longitude
If you want to use XCode instead, look for the Debug menu and its Simulate Location option. There you have a broader set of locations in different countries, but no way to quickly set the coordinates. You will, however, see an option to add a GPX file to the workspace. We explain what that means and why you would want to do that in the next section.
 Debug menu — Simulate Location option
Mind that Xcode has multiple in-built tools aimed at simplifying location simulations. For instance, you can make use of Xcode schemes, which provide a wide variety of options for testing and debugging. To access the schemes editor, go to the Product menu, click Scheme, and, finally, Edit Scheme.
 Product menu — Scheme — Edit Scheme
On the left, there will appear a menu with multiple options where you should choose Run for configuring location simulation. A checkbox called Allow Location Simulation must be enabled since it is obligatory for setting Core Location. The latter can be determined for any given program and will be used automatically the next time you launch the application.
 Allow Location Simulation checkbox
Building Complex Routes
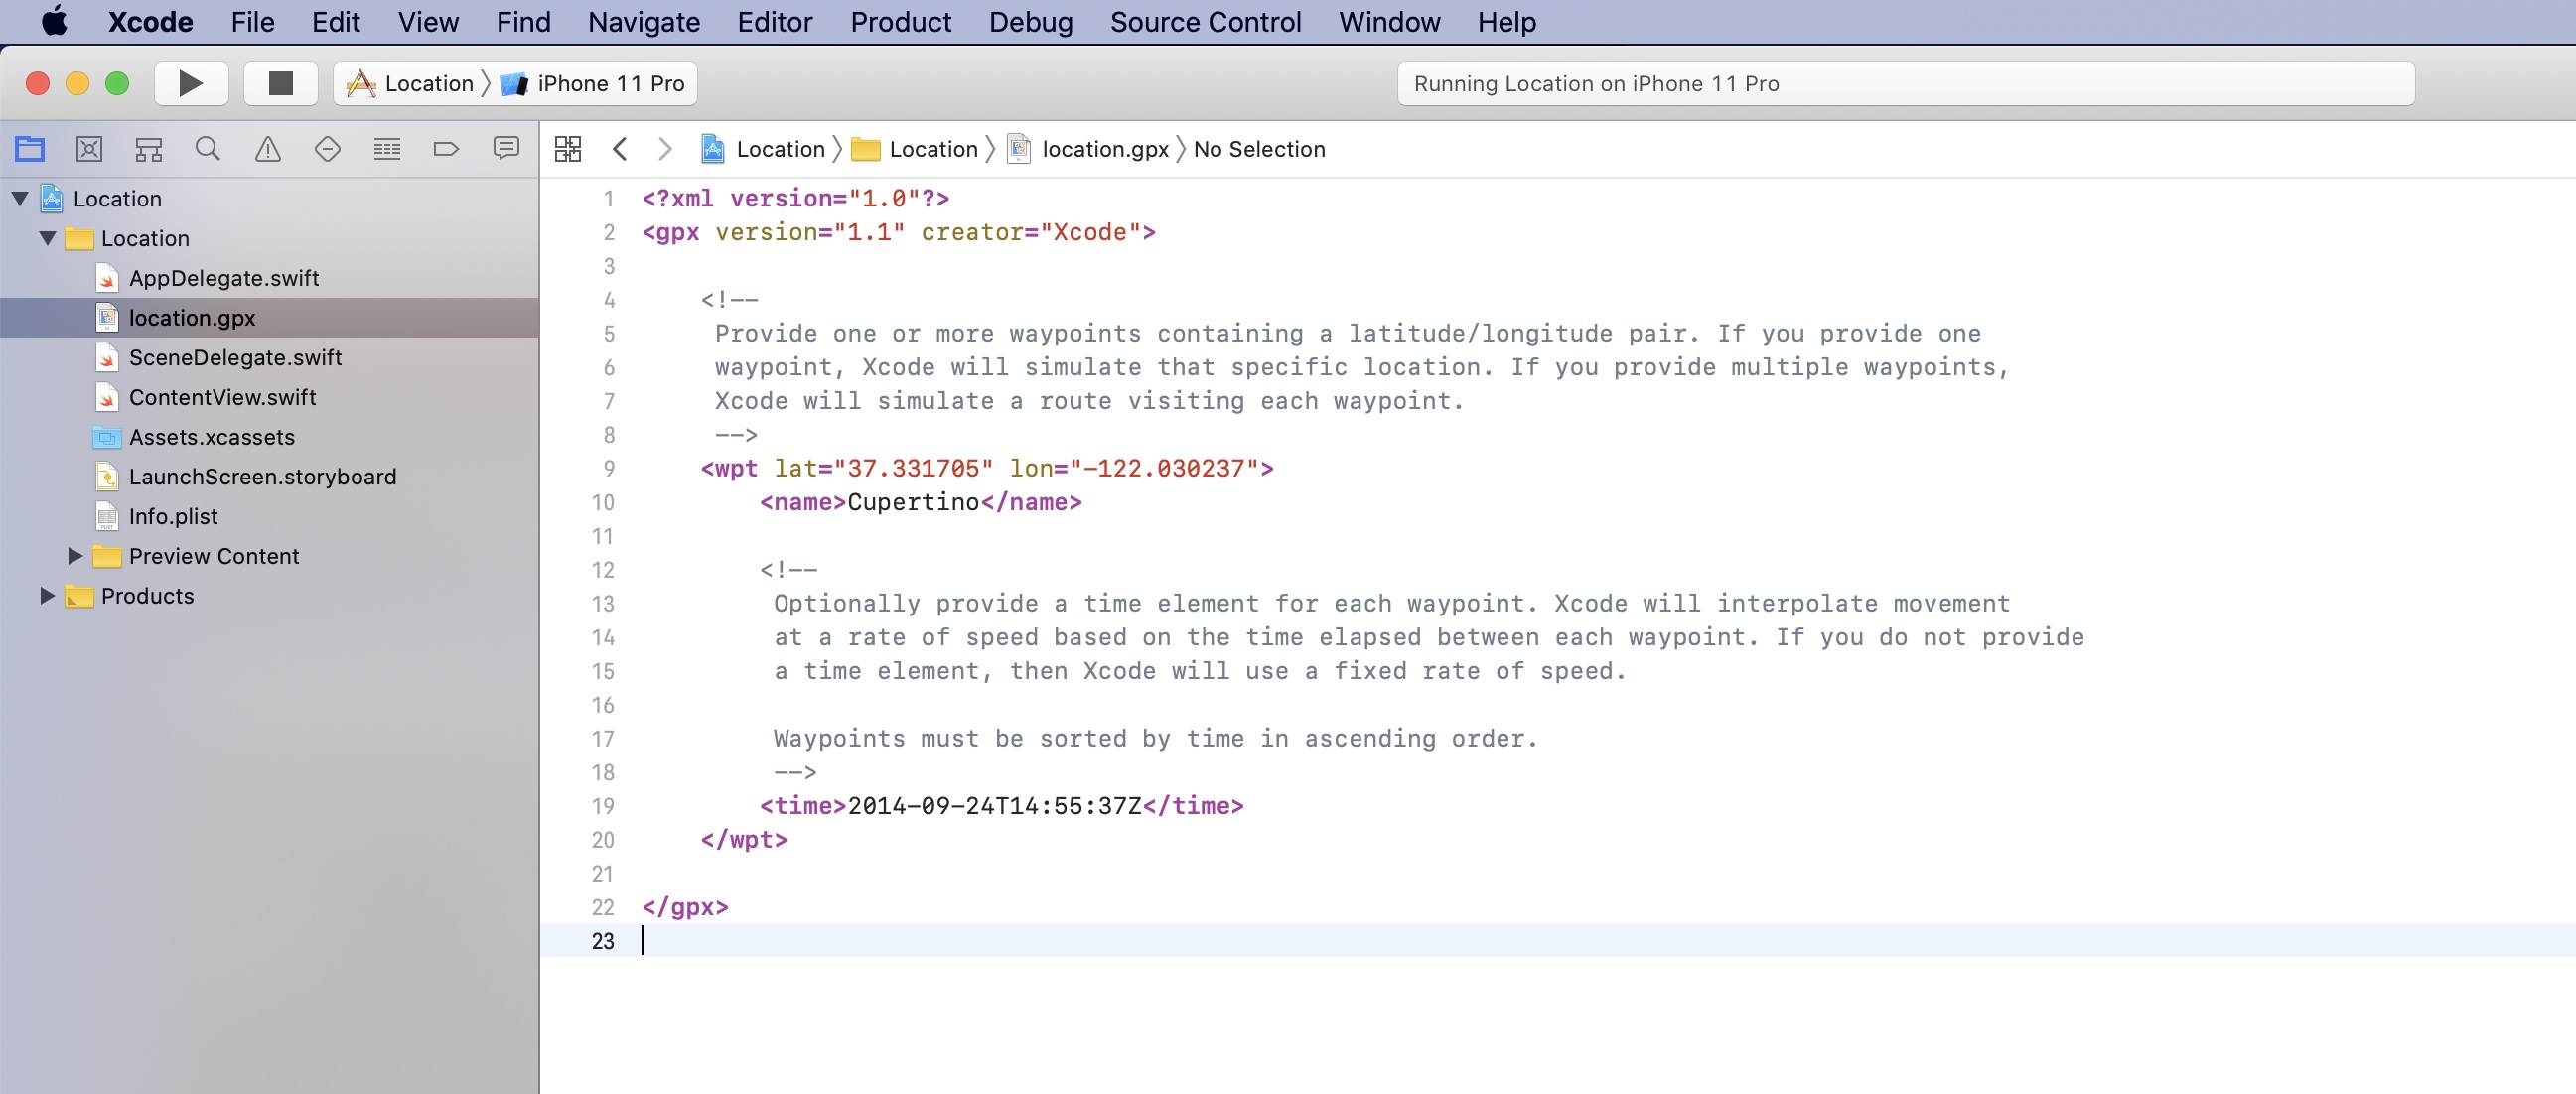
Static coordinates are a great point to start, but they hardly meet the real needs of developers. After all, people will not be standing still while using your application! Fortunately, Apple has provided a tool to test and debug dynamically changing coordinates. This is made possible thanks to the GPX format, which stands for GPS eXchange. Unlike traditional GPS coordinates, GPX files can be shared between users and programs, which allows the developers to build complex routes and integrate them into different apps easily.
Entering Coordinates to a GPX File
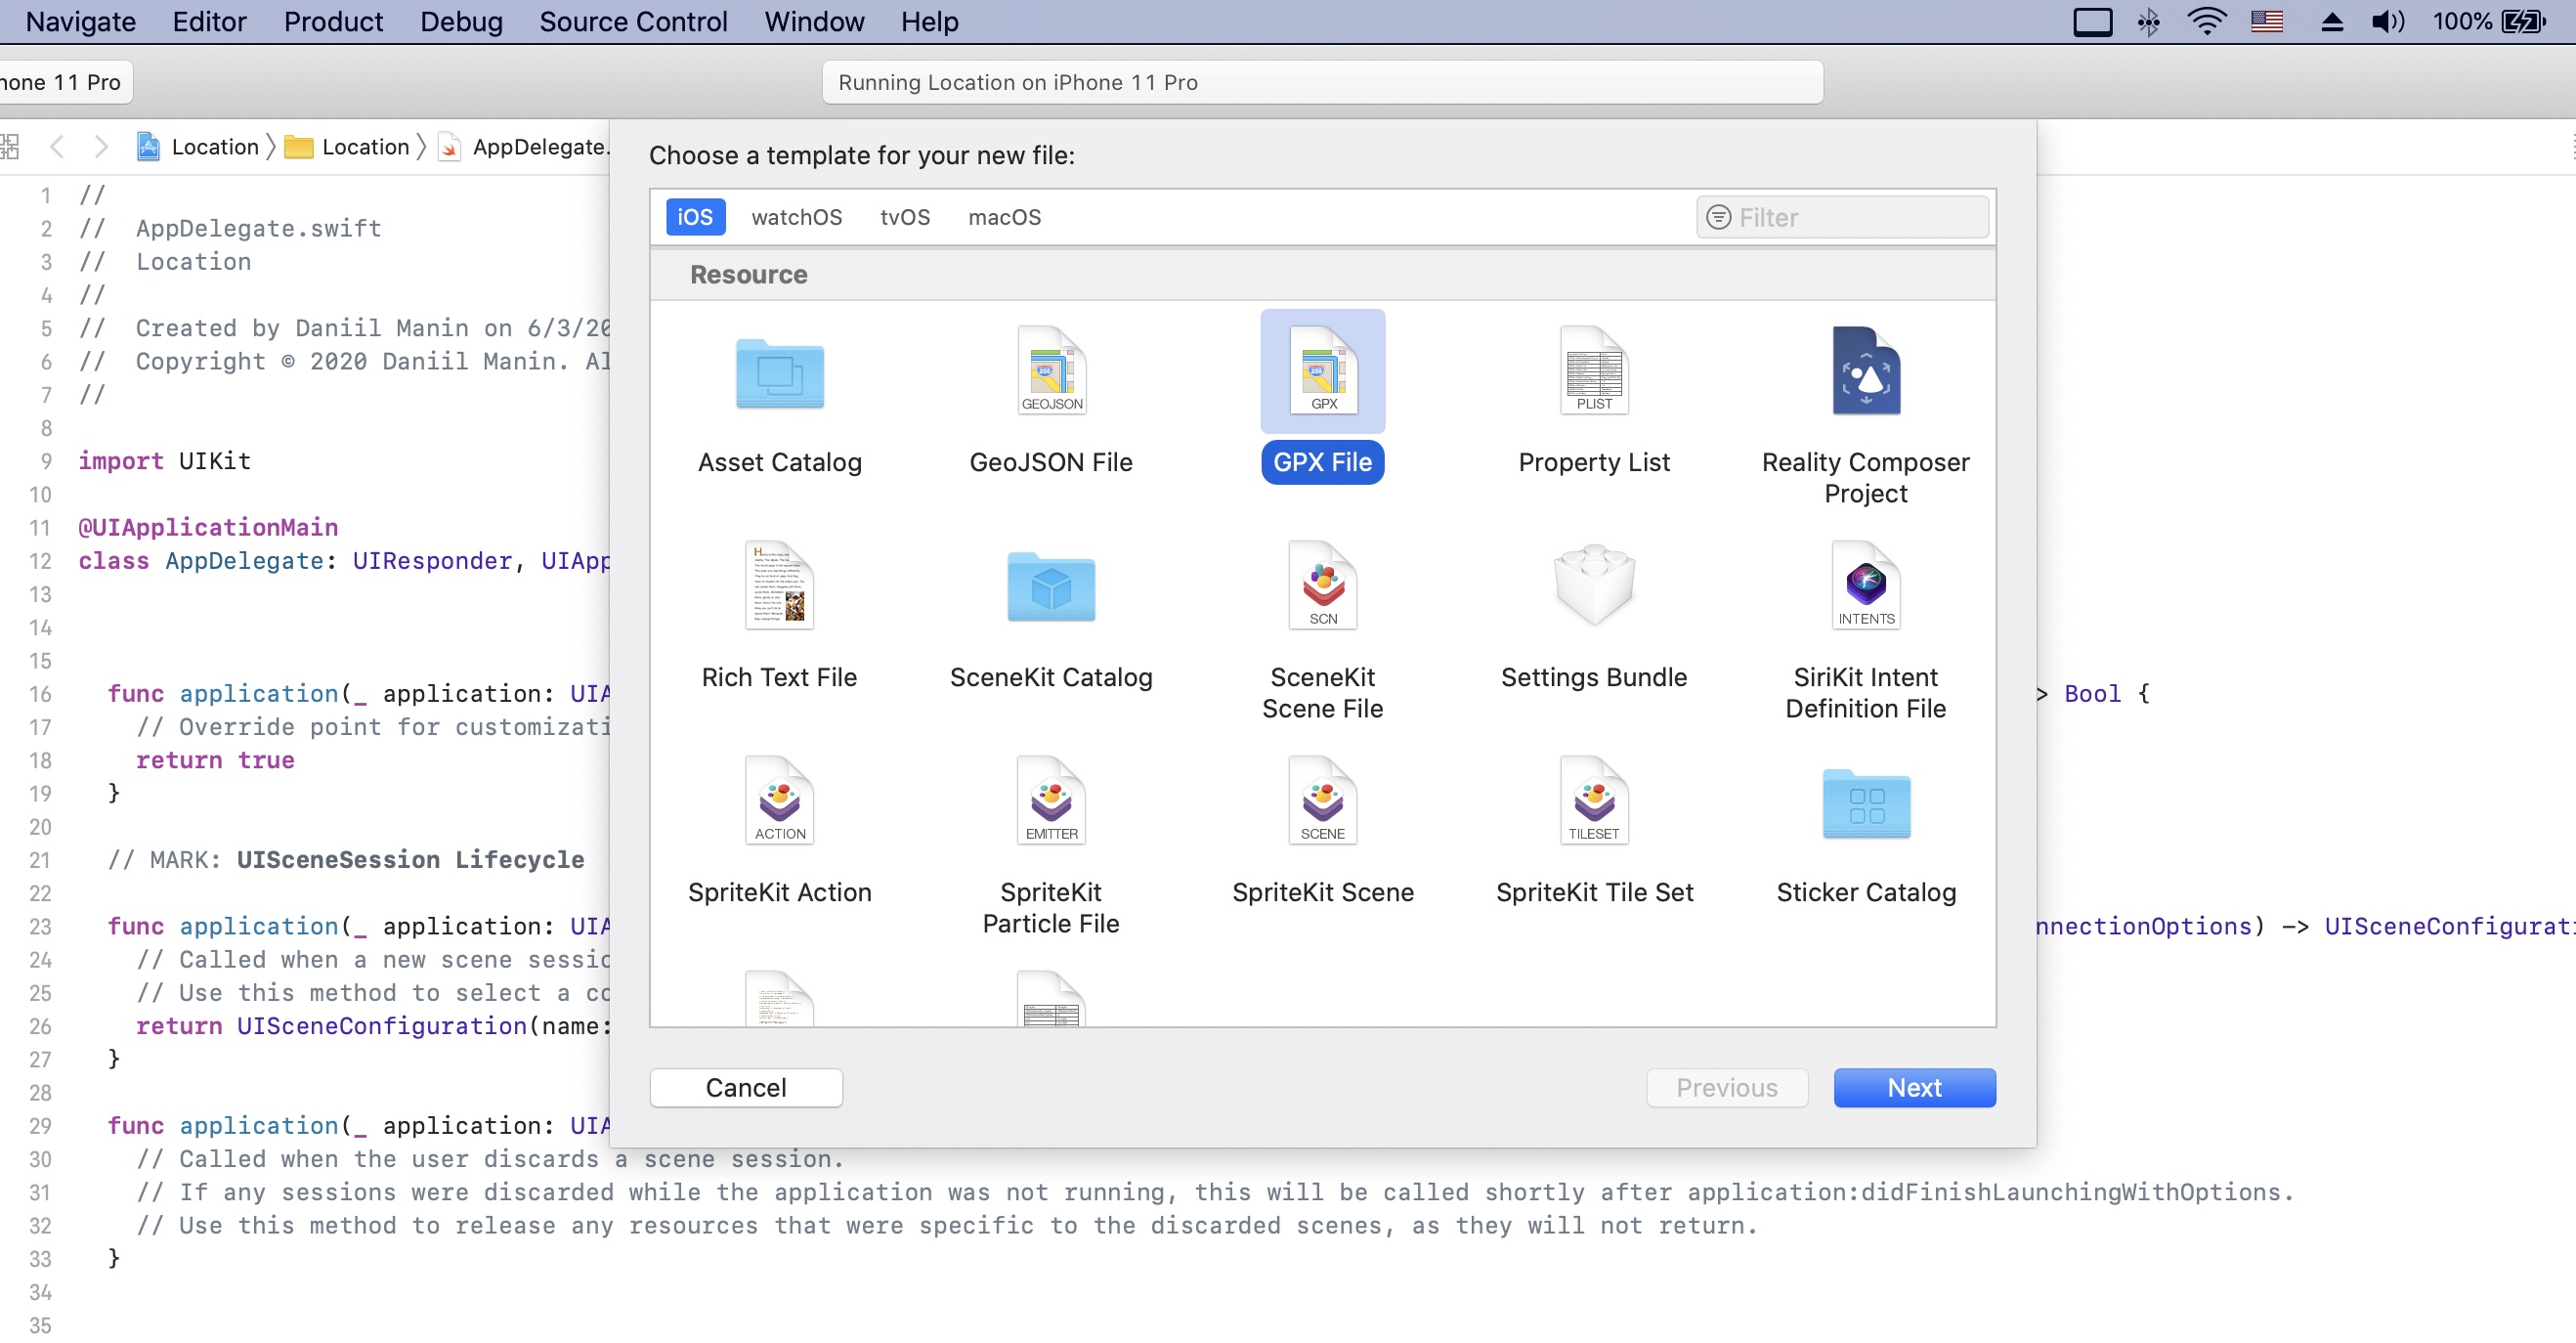
Making a GPX file is nothing complicated at all. Consider following these simple instructions to make you own GPX file and import it into Xcode:
- Determine a latitude and longitude. Remember that as long as you are building a dynamic route, you will need multiple sets of coordinates to ensure that everything works properly. As mentioned earlier, the geographical data can be retrieved from Google maps or any other source.
- Create a GPX file using in-built templates or a text editor. Xcode provides a convenient template for creating GPX files. It can be found in the File menu. Once you get there, click New and use the search bar to navigate through the library of templates. GPX file can be found in the macOS section. After you find the needed template, click Next to proceed. It’s worth noting GPX files are, in fact, usual text files that utilize .gpx extension. This means that you can create such a file even within a text editor of your iPhone.
-
- After picking a name for your file, you will see that its location is in Cupertino by default. Xcode will also provide some useful suggestions. Consider checking them out if you don’t have previous experience with iPhone app development!
- Now, you should have a fully customizable and ready-to-work GPX file. Make sure to include it in the scheme before running an application. You can change and edit the file at any given time.
Introducing Dynamic Location Simulation
The GPX files have one more notable advantage: they allow developers to simulate movement through setting exact time frames, within which a theoretical person should reach each point on the map. This feature is extremely helpful in modeling real-life situations, especially when it comes to fitness apps or any other types of programs where measuring speed is required. Xcode will automatically calculate the users’ speed, based on the time they spend to reach every other point on the map. If you don’t know which time frames to set or just don’t want to specify them due to any other reasons, the IDE will use a fixed speed rate. Keep in mind that waypoints can’t be set in descending order!
Notes Taken From Debugging iPhone Applications
Although Apple is doing its best to ensure that the whole process of software development for IOS runs as smoothly as possible, developers should consider certain limitations and restrictions that they may face while building their apps. Apple points out that testing applications for iPhone is possible on all simulated devices, while iPad apps can’t be tested on iPhones. It’s also worth noting that although all IOS programs work pretty similar on most devices, different iPhone models are shipped with varying screen resolutions. Make sure to run a separate test for every simulated model, as resolution differences may be essential to the proper functioning of your program.
Hardware restrictions apply to all simulations, so you won’t be able to test modules such as a camera or gyroscope through software means. If your application involves using these tools, you would need a hardware device, such as an iPhone or iPad, to test the app successfully. However, Apple allows testing certain functions through Xcode; for instance, turning a simulated device to see how the app performs is possible. Mind that only users registered in the Developer Program can access developers’ tools on mobile devices from Apple, so you would need to clarify this point before testing.