The Complete DIY Guide to Installing Hardwood Floors
Since the year 2012, the average home prices have increased by more than three times the pace of wages.
Buying or renovating a home will now cost you much more than you would have spent a decade ago. But with durable housing options such as hardwood flooring, you can enjoy more prolonged periods of resilient service, which saves you the hustle of recurrent repairs.
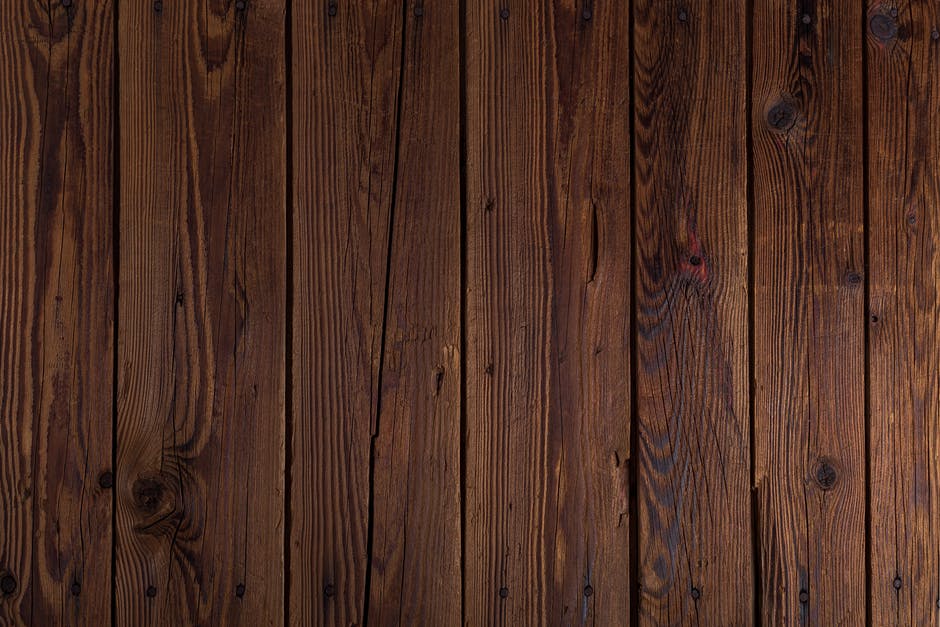
Hardwood floors are stylish and a true reflection of class. The best part is that you don’t need an expert to install such a floor. If you’re wondering how to go about installing hardwood floors, we’ve got you covered with this complete DIY guide.
Why Hardwood Floors?
This option offers you much more than just a classy finish. You’ll enjoy the benefits of a flooring option that’s more stain resilient than most other alternatives. With a hardwood flooring finish, you can undertake repairs and refinish your floor any time without any constraints.
On top of giving your home a touch of elegance, a wooden floor guarantees durability and adds value to your house. Now that there’s much more to gain from a wood floor, it’s time to learn your way around the flooring process. These steps will get you there.
1. Measure the Room
Nothing works better than having exact measurements in a DIY project. You can begin by measuring the width and length of the room. These measurements present an accurate estimate of the precise board widths you may need for the flooring process.
You should then multiply the square footage with the width and the length before ordering the hardwood flooring. It’s prudent that you allow for a 10-15% extra hardwood board. This is critical in case of any cutting mistakes.
2. Consider Any Potential Squeaky Floor
It would be best if you considered the subfloor before proceeding. Ensure that there’s a minimum of ¾ plywood as the subfloor. You must ensure that you limit the possibility of squeaky floors by screwing any area where the squeaking may occur. Using a drywall screw drive into the subfloor and joist can solve the issue.
3. Introduce the Vapor Barrier Paper
Once you have dealt with the squeaks, it’s time to roll out the vapor barrier on the subfloor. Ensure that you’ve got an allowance of 4 inches during the process. Once you are done, overlap and staple the vapor barrier paper to the subfloor by stapling the specific area.
You may also like: Top 10 Secrets to Decorating a Model Home
This process can be a bit inexpensive if you consider 15 pounds of tar. You can access such cheap options in most home improvement stores. Make sure you have a clear demarcation of the joists.
4. Order Your Wood Flooring
The success of the installation process depends on the quality of the hardwood boards you purchase. You must consider the services of a reliable dealer to ensure you access the highest quality of the hardwood floor. You can obtain quality hardwood floors from a flooring store, which boasts of having products from the world’s leading manufacturers.
Ordering your hardwood flooring boards from a renowned provider will also guarantee you that critical extent of durability you anticipate.
5. Start the Installation Process
You should always begin the installation process at the most extended unobstructed end of the wall. First, remove the shoe molding. Then snap a chalk line 3/8 inches out of the board.
This move is essential, especially during the hot summer seasons or the frigid winters. You want to ensure allowance for contraction or expansion during such seasons.
You can then begin placing the boards on the floor. Select the longboards on the first row. Ensure that you pick the straight boards and align the edge to the chalk lines. Then drill the pilot holes down through the hardwoods and into the floor and joists.
You can face- nail the entire first row while keeping the board lengths random. You must also make sure that as you hit the nails, you do not lose the 3/8 inches contraction allowance. You can go down beneath the crawl place to assess how the pins align.
6. The Next Step Should Be to Hand-Nail the Rolls
The process of installing hardwood floors requires accuracy in some cases. After installing the first few rows, you should pierce pilot holes into each of the board, then hand-nail the boards. Ensure that you retain adequate spacing for the nail gun.
You may also like: Roof Life: 5 Key Signs You Need a New Roof
If you aren’t sure about the process, you can lay out the hardwood boards before the actual procedure. This will be helpful as a way of visualizing the length and width once the final project is over. But never have the ends of the boards in adjacent rows.
Even while keeping the lengths random, ensure the range is at least 6 inches.
7. Cut the Base Boards
Ensure that while cutting the baseboards, you select the hardwood pieces with the best fit. Leave at least an allowance of 10 -12 inches before cutting each board. This ensures that you have adequate flexible space to begin the next row. Make sure that you practice accuracy during the process to reduce wastage while cutting the boards.
8. Filling the Gaps Is a Critical Part of Installing Hardwood Floors
Laying wood floors requires allowance as you connect one edge of the board to the next. But if not well covered, these gaps can be a security hazard on top of making irritating noises whenever pressure is applied. It would be helpful if you considered placing two nails in every board before gun nailing it permanently.
9. Use Holes to Fill Putty
Once you have placed the last hardwood board on the floor and nailed it, you can now fill all the nail holes. It would help if you replaced the shoe molding you placed earlier with putty. This will give you a more professional finish to the job.
You Can Achieve That Classy Hardwood Flooring on Your Own
Now that you understand the benefits of installing hardwood floors, you don’t need to be an expert to attain that classic look in your home. If you consider these simple DIY steps on how to install hardwood floors, you’ll marvel at the outcome.
Explore our site further for more insightful content.