10 Essential Tips on How to Install an Irrigation System in Your Yard
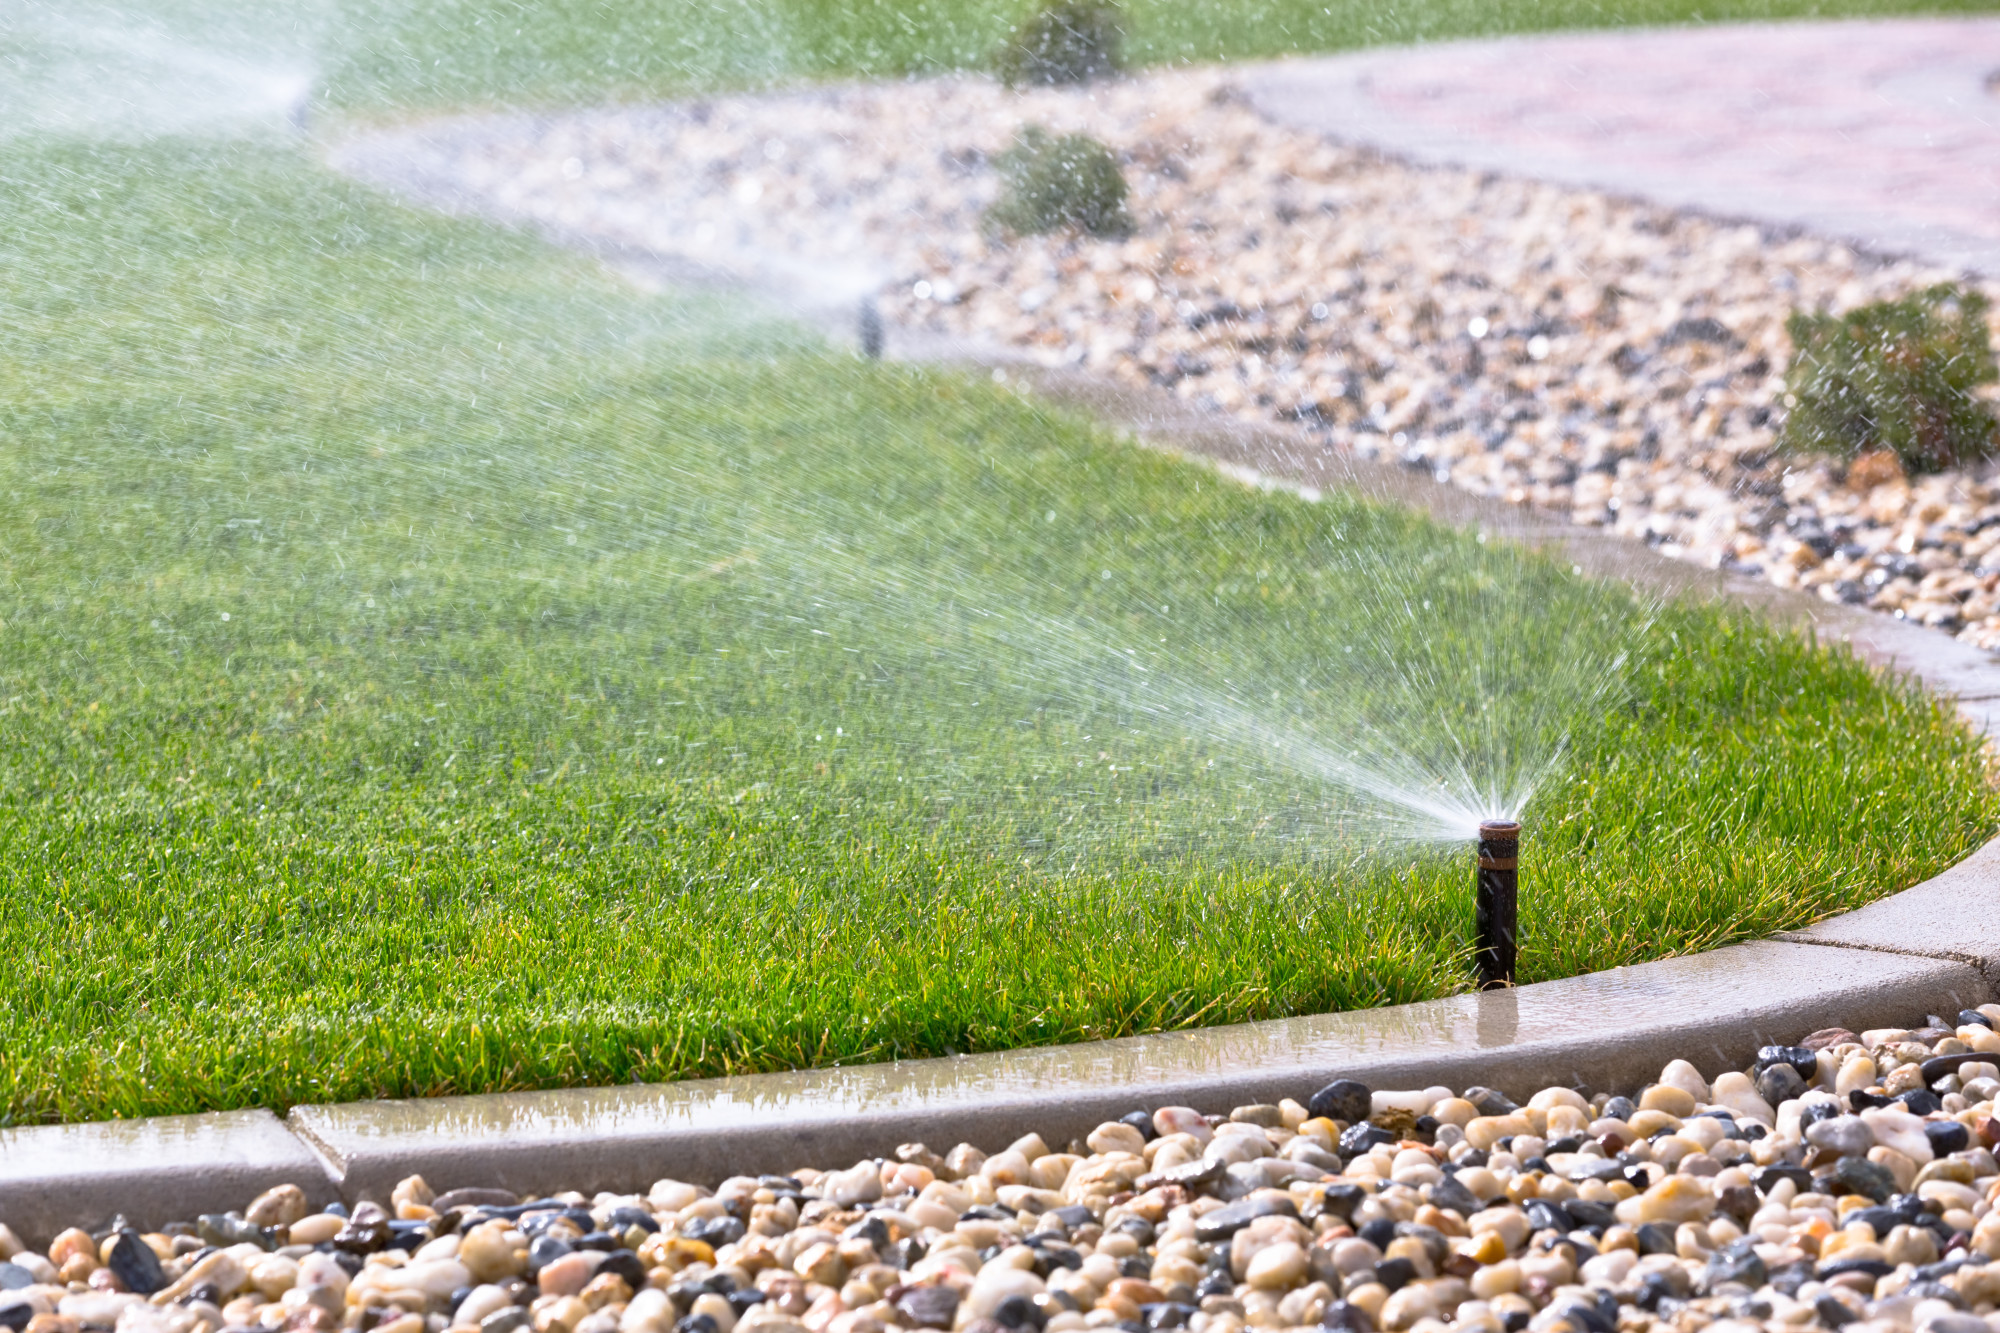
If you want your yard to be nice and green all season long, without the headache of turning on sprinklers and moving them around each day, you need an irrigation system!
Installing an irrigation system will help save water and keep your yard looking nice for the long haul, without much daily effort.
Keep reading to see some tricks and tips for installing an irrigation system.
10 Tips for Installing an Irrigation System
While many parts of the installation can be DIY, there are some parts better left to a professional. Check out these 10 tips to see where you need the pros and where you can do it yourself:
1. Make a Plan
It takes a lot of know-how to design a proper irrigation system. These systems are sometimes called reticulation systems because they branch out into a vast network. Imagine the veins of a leaf to understand the complexity of the system underground.
You’ll need to design a plan for your system that functions in zones and adequately covers all parts of the garden or lawn without wasting water. That’s a tall order, and one typically left to the professionals.
2. Remove the Sod for Reuse
The irrigation system needs to be installed in soil, which is why it’s easier to install a system during new construction. That said, you can retrofit your existing yard with a system.
Even if you’re going to use a professional company for the install, you can do a little prep work yourself to save time and money. You can go ahead and slice off the sod in the yard before the installation begins.
This allows you to save the grass for reuse. It’s extra work but it’ll save money and your yard will look greener faster.
3. Opt for a Vibratory Plow
The most typical way to install a system is to trench the yard. Ask the company you hire how they plan to do it.
If you’re doing it yourself, you may want to rent a vibratory plow instead. Pulling the pipe through the ground is faster and less messy than trenching.
Things to consider when pulling pipe:
- Stay far away from trees. The roots usually extend as far out as the canopy so give trees a wide berth.
- You want the pipe to be about 10 inches below the surface.
- Avoid pulling spliced pipes. They could pull apart underground.
- The vibratory plow doesn’t work well in heavily compacted soil. If you don’t know what kind of soil you’ll be working with, consider asking a neighbor who gardens – they’ll likely have a clue as to soil type.
4. Know When to Dig by Hand
Always call 811 to have your utilities located before you do any kind of digging.
811 services will come to your home and mark out where the underground utilities are. Then, you’ll want to make sure you hand dig the areas around your utilities.
When in doubt, hand dig. It’s not worth puncturing a water or gas line with powered equipment.
5. Keep the Pipes Clean
The pipes that you lay need to be dirt-free. Otherwise, when you run water through them, they’ll clog up and not function properly.
The easiest solution is to duct tape over the ends. This keeps rocks, dirt, and tiny creatures out of the pipes while you’re working on the installation. If you are concerned that something may have gotten into the pipes while you were working, flush the system before you put the heads on.
6. Invest in a Poly Pipe Cutter
Cutting the polyethylene pipes with an electric saw will cause plastic shavings that could clog the sprinkler heads – similar to dirt or other debris in the line.
One easy workaround is to invest in a pipe cutter. These cheap and simple tools are easy to use and avoid the plastic shavings that come with a regular saw.
7. Double Clamp Lines
You’ll need to attach the pipes to the fittings. Typically this is done with crimp clamps.
Be careful when applying clamps because they can squeeze the pipe into an oval shape, instead of a perfectly circular shape. This can lead to leaks.
On lines that remain pressurized, namely the main lines, you’ll want to double clamp to help avoid the leaks from improperly installed crimp clamps. Place two clamps on each side of the fitting. Install the clamps in opposite directions to offset any possible distortion of the pipes.
8. Keep Some Swing Pipe Handy
Swing pipe, sometimes called funny pipe, is a flexible hose. You’ll want to attach a piece of swing pipe in between the rigid pipe and the sprinkler head. This gives you a little leeway if the head needs to be moved, is run over by a lawnmower or the ground heaves in the winter freeze.
If you connect the head directly to the rigid poly pipe, any amount of movement from the head could break the fitting that holds the head to the pipe. This will mean a lot of future repairs.
Avoid the hassle down the road by using swing pipe on the initial installation.
9. Cut Out Kinks
If you see a kink in the rigid pipe, don’t use that portion of the piping. A kink causes weakness in the pipe. Even if you’re able to straighten out the pipe, that weakness will always exist.
Instead cut out the kinked portion and splice the two pieces of solid pipe back together. If you’re choosing a vibratory plow, you’ll want to double or triple clamp the spliced pipes before you pull them. Otherwise, they may get pulled apart.
10. Upgrade to a Smart Controller
The point of an irrigation system is to keep your yard green using minimal water and effort from you. You want to set it and forget it. If that’s the goal, make sure you are choosing a controller that makes all of that possible.
Traditional controllers turn on each zone for a set amount of time. A smart controller can track the temperature, recent rainfall, and amount of sunlight to automatically adjust the watering schedule.
This saves you the hassle of remembering to shut off the irrigation system after a big rain. A smart controller can save you hundreds of gallons of water in a season.
Get Green!
Installing an irrigation system to save time, energy, water and money is a no brainer. While it is very possible to handle the installation yourself by following these 10 tips, it may also make more sense to hire a professional company.
Hiring a pro means it’s done right the first time.
Looking for other tips and tricks to accomplish your next DIY task? Check out more of our home improvement blog posts!